官网已经不提供zabbix5 server端的安装了,我之前的笔记需要更新一下
之前是用pve装的centos7+zabbix5,这次用alma9+zabbix7 ,顺便温习一下,长久不用就忘了
环境说明
1
2
3
4
5
AlmaLinux 9.6 4C8G Zabbix 7.0LTS 10.163.2.100 zabbix-server 10.163.2.106 zabbix-agent
server安装 1 2 3 4 5 6 7 8 9 10 11 12 13 14 15 16 17 18 19 20 21 22 23 24 25 26 27 28 29 30 31 32 33 34 35 36 37 38 39 40 41 42 43 44 45 46 47 48 49 50 51 52 53 hostnamectl set-hostname zabbix-server && bash echo -e "10.163.2.100 zabbix-server\n10.163.2.106 zabbix-agent" >> /etc/hostssystemctl disable firewalld.service --now setenforce 0 sed -i 's/^SELINUX=.*/SELINUX=disabled/g' /etc/selinux/config wget http://repo.mysql.com/mysql-community-release-el7-5.noarch.rpm rpm -ivh mysql-community-release-el7-5.noarch.rpm yum install mysql-server -y wget https://repo.zabbix.com/zabbix/7.0/alma/9/x86_64/zabbix-release-latest-7.0.el9.noarch.rpm rpm -ivh zabbix-release-latest-7.0.el9.noarch.rpm dnf install zabbix-server-mysql zabbix-web-mysql zabbix-apache-conf zabbix-sql-scripts zabbix-selinux-policy zabbix-agent2 dnf install zabbix-agent2-plugin-mongodb zabbix-agent2-plugin-mssql zabbix-agent2-plugin-postgresql yum module switch-to php:8.2 -y systemctl enable mysqld --now mysql_secure_installation 123qwe!@ mysql -uroot -p'123qwe!@#QWE' -e 'create database zabbix character set utf8mb4 collate utf8mb4_bin;' mysql -uroot -p'123qwe!@#QWE' -e 'create user zabbix@localhost identified by "123qwe!@#QWE";' mysql -uroot -p'123qwe!@#QWE' -e 'grant all privileges on zabbix.* to zabbix@localhost;' mysql -uroot -p'123qwe!@#QWE' -e 'set global log_bin_trust_function_creators = 1;' zcat /usr/share/zabbix-sql-scripts/mysql/server.sql.gz | mysql --default-character-set=utf8mb4 -uzabbix -p'123qwe!@#QWE' zabbix mysql -uroot -p'123qwe!@#QWE' -e 'set global log_bin_trust_function_creators = 0;' sed -i 's/# DBPassword=*/DBPassword=123qwe!@#QWE/g' /etc/zabbix/zabbix_server.conf systemctl restart zabbix-server zabbix-agent2 httpd php-fpm systemctl enable zabbix-server zabbix-agent2 httpd php-fpm yum install -y langpacks-en glibc-langpack-en dnf install -y langpacks-* echo 'LANG="en_US.UTF-8"' > /etc/locale.confsystemctl restart httpd systemctl restart php-fpm http://10.163.2.100/zabbix 默认账户Admin 默认密码zabbix
agent安装 1 2 3 4 5 6 7 8 9 10 11 12 13 14 15 16 17 18 19 20 21 22 23 24 25 26 27 28 29 hostnamectl set-hostname zabbix-agent && bash echo -e "10.163.2.100 zabbix-server\n10.163.2.106 zabbix-agent" >> /etc/hostssystemctl disable firewalld.service --now setenforce 0 sed -i 's/^SELINUX=.*/SELINUX=disabled/g' /etc/selinux/config rpm -Uvh https://repo.zabbix.com/zabbix/7.0/alma/9/x86_64/zabbix-release-latest-7.0.el9.noarch.rpm dnf install zabbix-agent2 systemctl enable zabbix-agent2 --now cat >/etc/zabbix/zabbix_agent2.conf<<EOF PidFile=/var/run/zabbix/zabbix_agent2.pid LogFile=/var/log/zabbix/zabbix_agent2.log LogFileSize=0 Server=10.163.2.100 ServerActive=10.163.2.100 Include=/etc/zabbix/zabbix_agent2.d/*.conf ControlSocket=/tmp/agent.sock Hostname=$(hostname) HostMetadata=$(hostname) EOF systemctl restart zabbix-agent2.service systemctl restart httpd php-fpm
agent连接server有3种模式
手动添加:需要部署完agent之后,手动在web进行主机添加,这是最初始的方式
自动发现:服务端主动发起扫描的模式(网络发现),性能较低,对服务器负载高
自动注册:服务器被动接受agent发起的连接,根据规则,对zabbix服务端压力较低
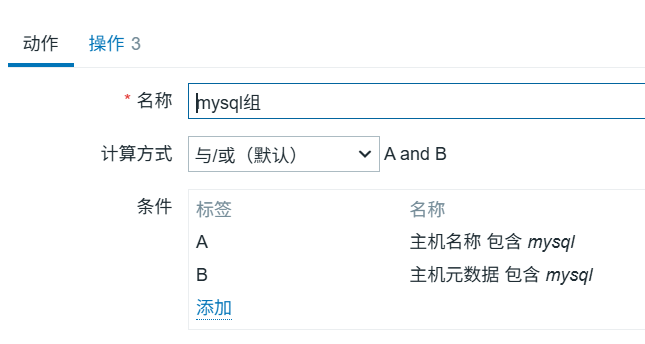
我这里添加了自动注册规则
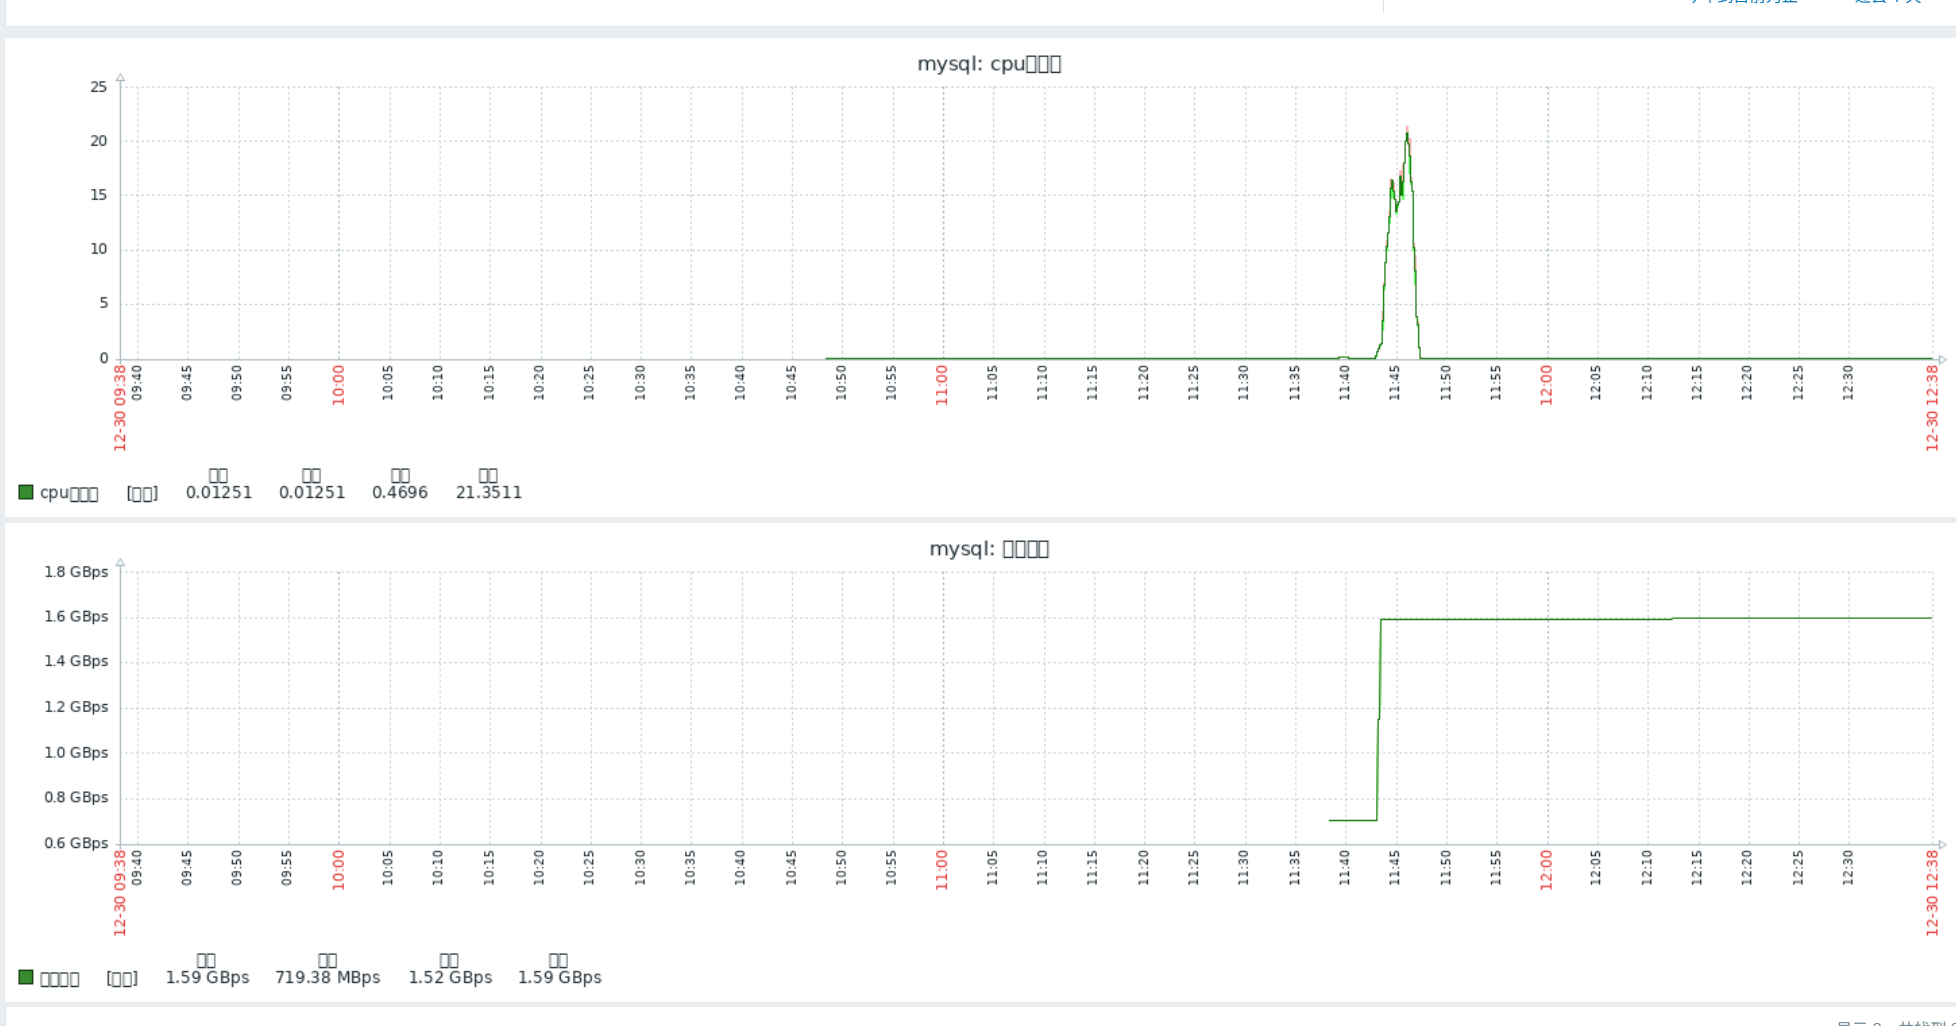
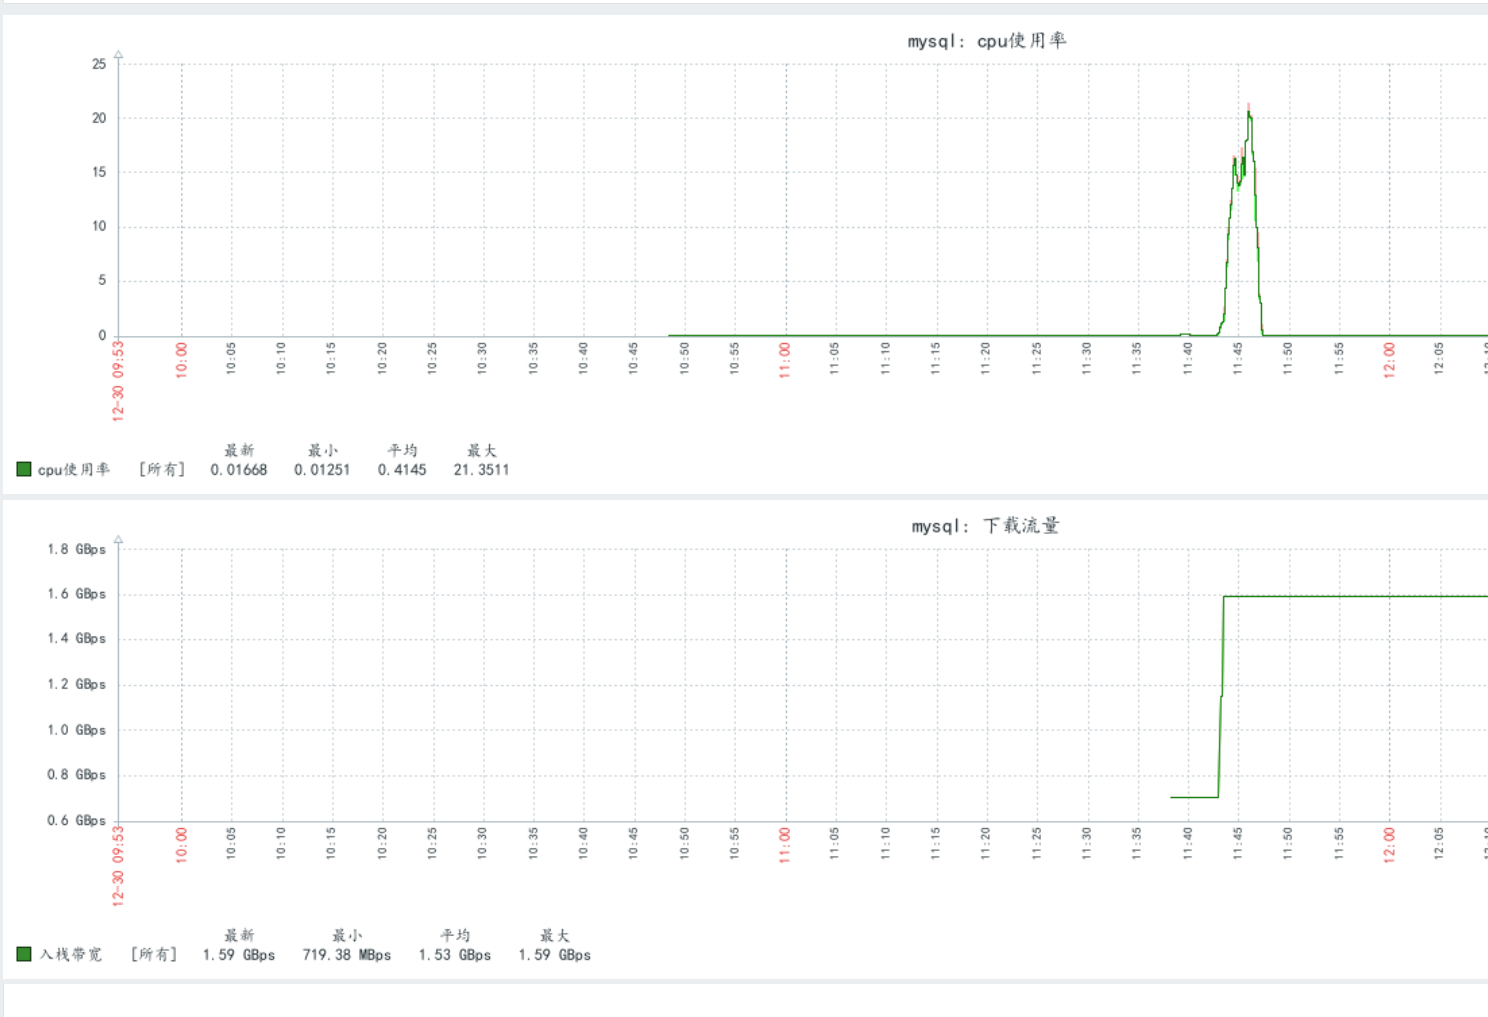
自定义监控项 1 2 3 4 5 6 7 8 9 10 11 12 13 14 15 16 17 18 19 20 21 22 23 system.cpu.util system.cpu.util[,user] system.cpu.util[,system] system.cpu.util[,iowait] system.cpu.util[,idle] vm.memory.size[total] vm.memory.size[available] vm.memory.size[free] vm.memory.size[used] vm.memory.size[pavailable] vm.memory.size[pused] vm.memory.size[total] - vm.memory.size[available] vfs.fs.inode[/,total] vfs.fs.inode[/,used] vfs.fs.inode[/,free] vfs.fs.inode[/,pused] vfs.fs.inode[/,pfree] vfs.fs.size[fs,pfree] ...
图表乱码问题 推荐直接在windows电脑里找C:\Windows\Fonts,把楷体simkai.ttf复制出来
1 2 3 4 5 define('ZBX_GRAPH_FONT_NAME' , 'simkai' ); define('ZZX_FONT_NAME' , 'simkai' ); systemctl restart httpd
额外的内容,什么触发器、模板、自动发现、proxy、邮件告警什么的就都略过了,都不是很难,都是点点点的东西,我只记录已经快忘记了的东西